Getting Started with Notebooks for Mac
A Space for Your Ideas
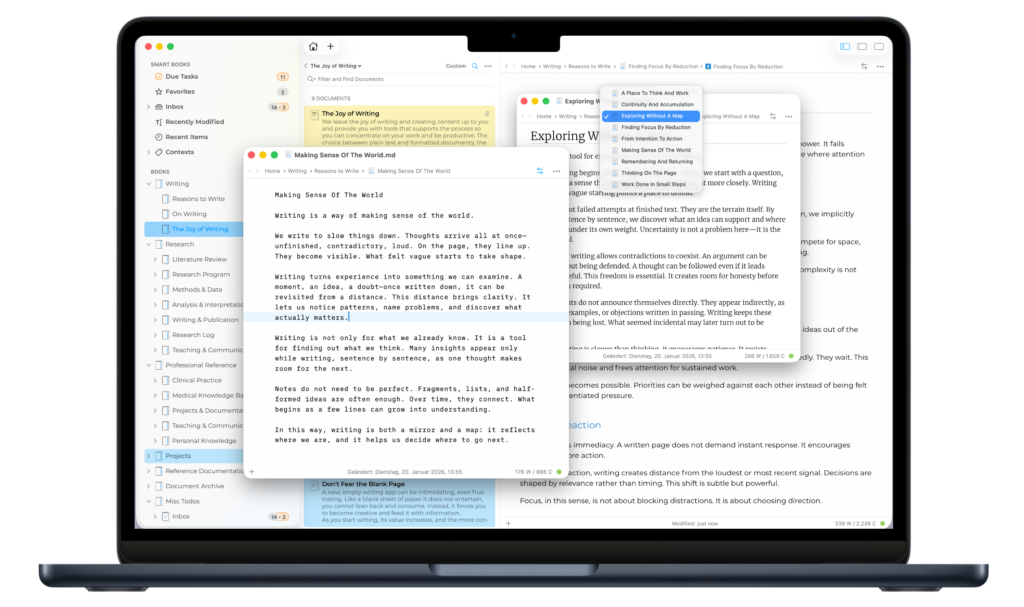
Notebooks is a flexible home for all your writing, notes, documents, and projects. A new, empty app can feel like a blank sheet of paper, it doesn’t entertain, it invites you to create. As you add content, create documents, and organize them your way, Notebooks grows more useful and rewarding.
You decide what to create. Notebooks provides tools that help you focus and be productive: plain text or formatted documents, fullscreen modes, dark mode, multiple windows, smart books, task lists, cross-references, word counts, and the ability to compile documents into PDFs or eBooks. The app is feature-rich but lightweight, and many tools only appear when you need them.
Getting Started
Set Your Home Folder
The Home folder is where Notebooks stores all your documents. It can be:
- A folder on your Mac (anywhere you like)
- A folder in iCloud Drive (ideally, the Notebooks folder on iCloud)
- The Notebooks folder on your Dropbox
- A folder you’ve used with Notebooks before
You can change this folder at any time in Settings. This lets you work with multiple sets of documents or keep sensitive documents separate.
Create Your First Documents
- New Document: Click
+and choose plain text, formatted, or Markdown. - Add Content: Use tables, checklists, attachments.
- Organize: Place documents in books and nested folders. Activate smart books, cross-references, and task lists as you go.
The first line of a document is used as its title by default.
Import Existing Files
- Drag & drop files or folders from Finder or other apps.
- Use the
Share...menu in other apps. - Supported file types: PDFs, Office/iWork documents, images, web pages, audio/video, and more.
Notebooks keeps all documents in standard formats, so they remain accessible from Finder and other apps.
Sync Across Devices
- iCloud: Select the same folder on all devices to sync.
- Dropbox: Sync documents from iPad/iPhone to your Mac via Dropbox.
- WebDAV: Mount a server in Finder and use it as your Home folder.
For best performance, consider syncing to a local folder.
Useful Tips
- Renaming: Select a document and press Return or right-click → Rename.
- .plist Files: Store document metadata; visible in Finder, but you can hide them in Preferences.
- Protection: Mac version doesn’t encrypt documents synced from iOS; they remain accessible in Finder.